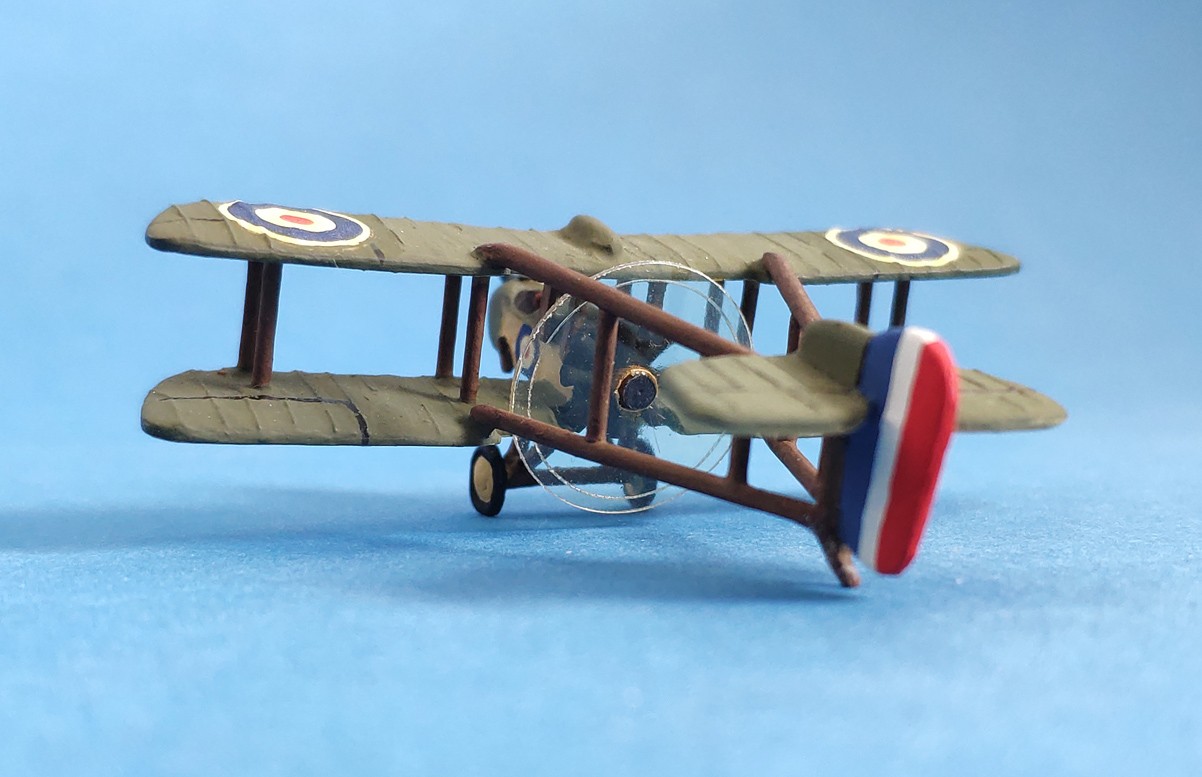
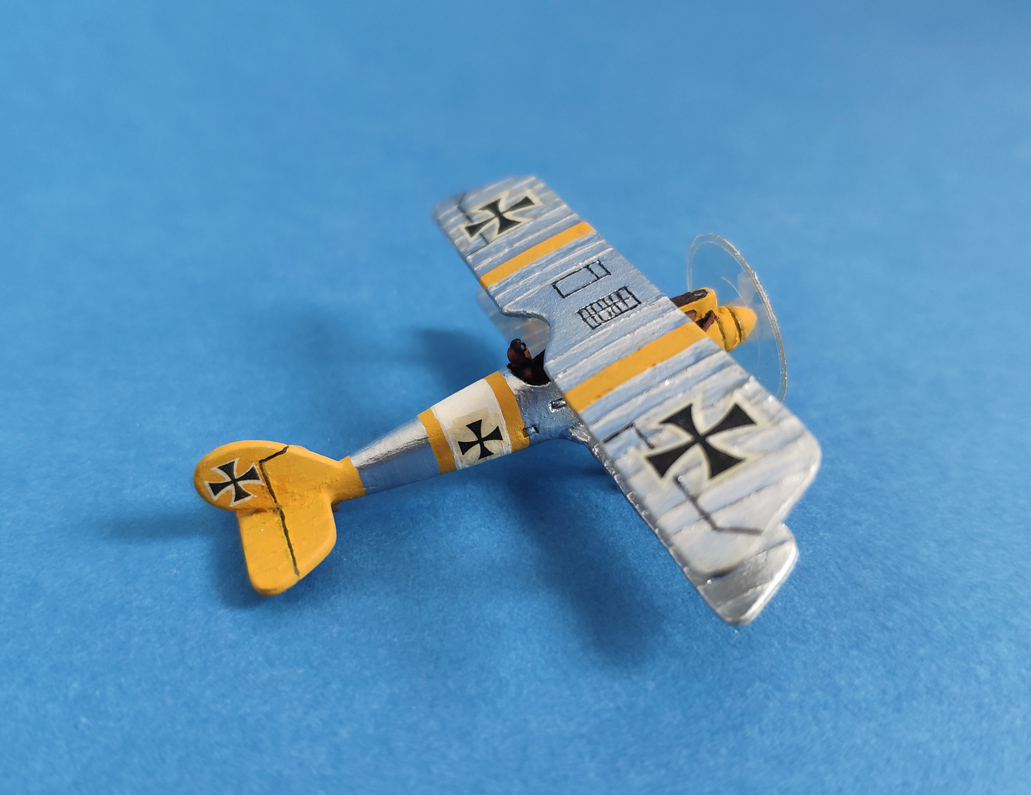
Welcome to my blog. Here you will find an irregular record of my haphazard progress through an eclectic mix of projects, games and other assorted wargames-related nonsense.


You came here looking for toast and tea? Pop in a couple of slices and put a brew on. This blog is best enjoyed with hot buttered toast and a mug of strong, hot tea*.


*Warning - may contain puns.


Sunday, 23 August 2020

"Oh the devil in me said, go down to the shed..."

Sundays - usually the time when I'm at my most productive, hobby-wise. This was a nice little Sunday project - well several Sundays to be honest, because even at my most productive I am still rather slow!


I admit that I have been rather sniffy about MDF scenery. There are a lot of really cleverly designed MDF buildings available now, but once built many still look a bit too - well, MDF. I've seen some great examples that overcome this with clever use of paint, washes and coloured pencils, but to my eyes they still have that uniformity I dislike.

So, this was an experiment to tackle some of the issues that have put me off MDF buildings. My chosen 'test bed' for this was the free kit I received for completing last year's Great Wargaming Survey. As it was free, I wasn't too concerned if I screwed up. The idea was to try out a few techniques to see what worked best. My modest aims were to add some wood grain texture and to disguise the rather slab-like roof and the unsightly tabs where the various roof parts slotted together.

I started by scribing wood grain into the panels using a hobby knife and a fresh blade. I have used this technique successfully to represent wood grain on scratch-built buildings made from plasticard styrene sheet, but MDF has very different properties and I wasn't sure how well this would work. 


Being fibrous, the surface where I scored the MDF was quite 'feathered'. My first thought was to sand it down a bit, but I was worried this would only produce more stray fibres. In the end I found that lightly rubbing the surface with the tip of my finger was enough to remove most of the stray fibres. I was quite happy with the result.


After scribing all the panels I added a few extra details. The inner door latch was fashioned from a staple and a round-headed pin was used to make the door knob. Door hinges and brackets were cut from thin plasticard and glued in place before painting. 

I was quite unsure how to go about painting the model. I knew the effect I was after, but this required a bit of trial and error. The whole model received a base coat of pale grey (Humbrol Matt 64 - Light Grey). MDF is insatiably thirsty stuff and with hindsight I would have been better opting for a cheaper option, either an aerosol car primer or some cheap craft paint. 

Once the base coat was dry, I started adding thin washes of Citadel Agrax Earthshade to bring out the wood grain and achieve the grey-brown look of aged wooden boards. I overdid it in a few paces and had to knock the colour back with a thinned down wash of grey. Once I was happy with the overall tone, all areas were lightly drybrushed with more Humbrol Light Grey. Weathering and dirt patches were applied with a mix of Citadel Agrax Earthshade and Nuln Oil. Finally, Foundry Phlegm Green was applied in thin washes and then drybrushed to simulate patches of damp on areas at the base of the shed and the lower part of the door. I could probably have added more weathering, but I was afraid of overdoing it. Learning when to stop is always a tricky one.

Painting progress - the first wash of colour over the base grey.

So far, so good - but the bare MDF shed roof was in need of attention. I opted for fine grit sandpaper to represent roofing felt. This was easy to trim to shape and apply with PVA glue, thus concealing the tabs holding the roof components together and providing some much needed texture. Once dry, a layer of PVA was spread over the surface of the sandpaper to soften the texture a bit. Strips of styrene were glued down to represent wooden battens and the roof was then ready for painting.

I thought that painting the roof would be far easier than the woodwork, but it took at least three attempts to get it right. My first two attempts were way too dark and looked completely at odds with the paler wood effects. Several coats of paint did have the unintended advantage of further toning down the texture of the sandpaper which was still a bit too rough despite the PVA treatment. In the end, I got it right using a mix of mid-grey with a hint of green. Light weathering with Nuln Oil washes and Phlegm Green completed the process. I think it does a pretty good job of representing roofing felt.

To complete the shed I added 'glazing' by attaching a strip of clear plastic to the inside of the window frames.

The final task was to make a scenic base cut from 2mm styrene sheet, with individual paving stones cut from thin styrene sheet.  The base was textured and painted with my usual basing technique. Static grass, tufts and foliage added the finishing touches.

I must say I'm rather pleased with the finished model. There are still some details that give away its heritage, but overall they are not too obvious and I don't think it screams 'MDF'. It has turned out better than I expected and has helped to raise my opinion of MDF scenery quite a bit.


Here's where the story ends. 

Well actually - no. Now I need to find a use for the shed. I already have a couple of scenario ideas, but that will be for another time. Watch this space - but don't hold your breath!

Tuesday, 14 July 2020

Planes on Poles

This post is dedicated to the memory of my late friend and fellow gamer Pete, who sadly passed away a few weeks ago.

Some of the games Pete and I have played feature in posts on this blog (see entries for Mythic Battles: Pantheon and Cry Havoc) but our gaming history goes back much further. Back to the 1980's in fact, when we were part of a small group of like-minded friends who regularly met to indulge in all manner of tabletop gaming.

Like the rest of our group, Pete was willing to try most games, but he had a particular penchant for two very different genres; Wild West skirmish and WWI aerial dogfights. When I remember Pete, it's the latter that I most often think of. Some of the earliest, if not the first games we ever played together were WWI dogfights. They became a staple of our early gaming sessions and something we returned to many times - and it was an area Pete never lost interest in.

At the last wargame show we attended together (Colours 2019) Pete was doing his level best to persuade me to buy into Wings of Glory. I had hesitated, having already blown most of my budget on ships for Cruel Seas and in the end I didn't buy in.  However, Pete already had a copy of the original Wings of War rules, plus cards, planes and game mat, so we agreed that he would introduce me to the rules for our next game.

It is the nature of modern life that our games were often few and far between. Other commitments got in the way and the months passed until our diaries finally aligned. And then life went into lockdown and we never did get that game.


I have thought about Pete and that 'game that never was' quite a lot since and it prompted me to go searching through the cupboards for my old WWI aeroplanes and rules. It took a bit of digging to find everything, but I eventually found a folder full of templates, order sheets and rules, plus all bar one of my aircraft collection. (One of my favourites, an Se5A, is missing somewhere - presumably shot down over the trenches?).

None of this stuff has seen the light of day for decades and it is showing its vintage a bit. The aircraft are all intact, but some of the decals have yellowed from the ageing matt varnish I had used to seal them. The various game components are looking quite shabby now and the rule book is rather tatty with faded covers, evidence of heavy and repeated use back in the  day.


Back then, our rules of choice were 'Paragon's NEW Aerial Dogfight Rules, 1916 - 1918' by Hugh Walters & John Herbert, circa May 1977. These were sold by Skytrex, who also produced a range of suitable 1/144th scale aircraft in their 'Red Eagle' range. (Now sold by Red Eagle Miniatures). The rules - a slim 14-page A5 stapled booklet, are very much a product of their time; no fancy layout or pretty pictures, but they contained all the information we needed for a simple, fun game.

Rule booklet and aircraft play sheets

By the time I began playing aerial dogfight games with Pete and friends in the 80's, I was already no stranger to Paragon's rules, having first encountered them in my late teens with a group of school friends. At that time we used 1/300th scale aircraft models and as the optional campaign rules included stats and scenarios for zeppelins I even built a 1/300th scale model of one which I was pretty proud of. I can't remember what happened to either the zeppelin or the planes, but sadly I no longer have them.

Boxes of Skytrex aircraft with a flyer for the models and optional campaign rules

Campaign rules, map, counters and dials

Paragon's rules called for 50cm tall flight stands and my original ones were simple plywood bases with wooden dowels. These were okay for 1/300th scale models, but still top-heavy when aircraft models were at the highest elevations.  Toppling flight stands were always a hazard, so the move to 1/144th scale models required something much bigger and sturdier. 

Remember, these were pre-internet days and long before wargame companies began producing ready-to-play games with everything needed to start playing out of the box. I am fortunate to have a father who counted model engineering among his hobbies, so access to a source of thick steel plate and the necessary tools to work it was no problem. From this after much effort I produced several heavy octagonal bases. A trawl of the Yellow Pages and several phone calls identified a suitable source of 10mm diameter clear perspex rod. I still remember driving to Birmingham on a wet weekday morning to collect my purchase from a small factory in the shadow of Spaghetti Junction. The perspex rod was then cut to 25½" lengths and each was then turned in my father's lathe to scribe bands at  half-inch intervals giving the required 50 altitude levels, plus half an inch to fit into a hole in the base. After painting the bases and inking the scribed bands, the stands were ready for assembly.

Heavy-duty flight stand, ready for action.

My biggest headache was figuring out a way to attach the aircraft to the flight stands. I had made some wire couplings to hold the aircraft, but needed something suitable to attach them to that would fit over the perspex rods. Also, the fit had to be perfect. Too loose and the models would slide down the rods under their own weight; too tight and there would be endless struggles to adjust models while trying not to disturb the position of the bases. At the time I was living in a furnished rented flat and among the 'accessories' in the bathroom was one of those Y-shaped flexible plastic shower hoses, the type that is supposed to fit onto the hot and cold taps in the bath. As a shower hose it was bloody useless as any amount of water pressure would pop the connectors right off the taps and spray water everywhere. However, the plastic hose was almost exactly the right diameter to fit over the flight stand rods. After a chopping up a few lengths of hose and plunging them in hot water to stretch over the perspex rod I had a workable solution to my problem. Once the wire couplings were inserted and glued in place - 'voila' I had the perfect flight stands!

Plastic hose and Araldite epoxy is what keeps us in the air.

Plane on a Pole

'Paragon's NEW Aerial Dogfight Rules' was always a bit of a mouthful, so the game inevitably became known simply as 'Planes', 'Dogfights' or, in the best tradition of alliterative game titles, 'Planes on Poles'.  The rules served us well for many years and have been the source of some great games. At one point we were playing games with sufficient frequency to start a campaign set over a fictional sector of the Western Front. This did rather complicate things, requiring some book-keeping. I kept the many pages of campaign notes, aircraft lists and pilot rosters for years, but can no longer locate them. Probably they were thrown away during one of my infrequent clear-outs, which I rather regret. In the absence of notes my recollection is a little hazy now, but in my mind Pete took the side of those 'jolly good chaps' of the RFC. That might be a trick of my memory, but it 'feels' correct - and Pete kind of looked the part anyway.


One of the attractions of the game was, of course, the planes. The Red Eagle kits produce nice models with a bit of patience and care. Okay, so some cursing and swearing is also required. It is many years since I put any together and the passage of time has probably dulled the painful memories of struggling to align wings and multiple struts whilst waiting for the glue to set.  However, once built they are quite sturdy and have withstood a few mishaps with minimal damage; certainly nothing that couldn't be carefully pushed back into shape and touched up with a dab of paint.

Speaking of paint, my planes were painted in Humbrol enamels, in the days before I switched to acrylics. Yes, enamels are smelly and a bit more of a 'faff' to clean up than acrylics, but they are very resistant to wear and tear from handling and after many years the paintwork still looks pretty good, despite the yellowing decals.

The final touch to each model was to fix a 'spinning prop'. The Red Eagle planes come with cast prop blades, but I have never liked the look of an aircraft model that appears to be flying around with a stalled engine. All of my models have had the prop blades removed and replaced with a clear plastic 'spinner', cut and scribed from spare blister packaging.

A Be2b of those jolly good chaps of the Royal Flying Corps

This always reminds me of the 70's BBC series 'Wings'


Albatross D.II


Sopwith Pup

Roland C.II


Airco DH.2 (always one of my favourites)


Pfalz D.III (A pretty aircraft, if a bit under powered)


Bristol Fighter F2b


Albatross D.V


Sopwith Camel


Fokker Dr.1 Triplane (Baron Manfred von Richthofen - of course!)


Airco DH.4 (Stirs memories of the wonderful Airfix artwork by Roy Cross)


I'm not sure when (if ever) 'Planes on Poles' will make it to the gaming table again, but I will forever associate it with Pete.

Thanks for all the games and great memories Pete.

Rest in peace.